
Our home was built in 1961 and we moved in October 2019. When Winter rolled around that first year, we were shocked at how dark our house was. It’s not as noticeable during the bright long summer days, but when it’s dark outside by 5pm and you’re making dinner with barely any light – it’s very noticeable.
I did a quick google search trying to understand why older homes don’t have recessed lighting. From what I can gather, the cans for recessed lighting weren’t around until the late 1950’s, and like most things, at first only very wealthy were privileged enough to have them. Pish. Most older homes have the dreaded light switch/lamp combo. It’s the worst trying to figure out which outlets are controlled by which light switches. Tell me you’ve been there?
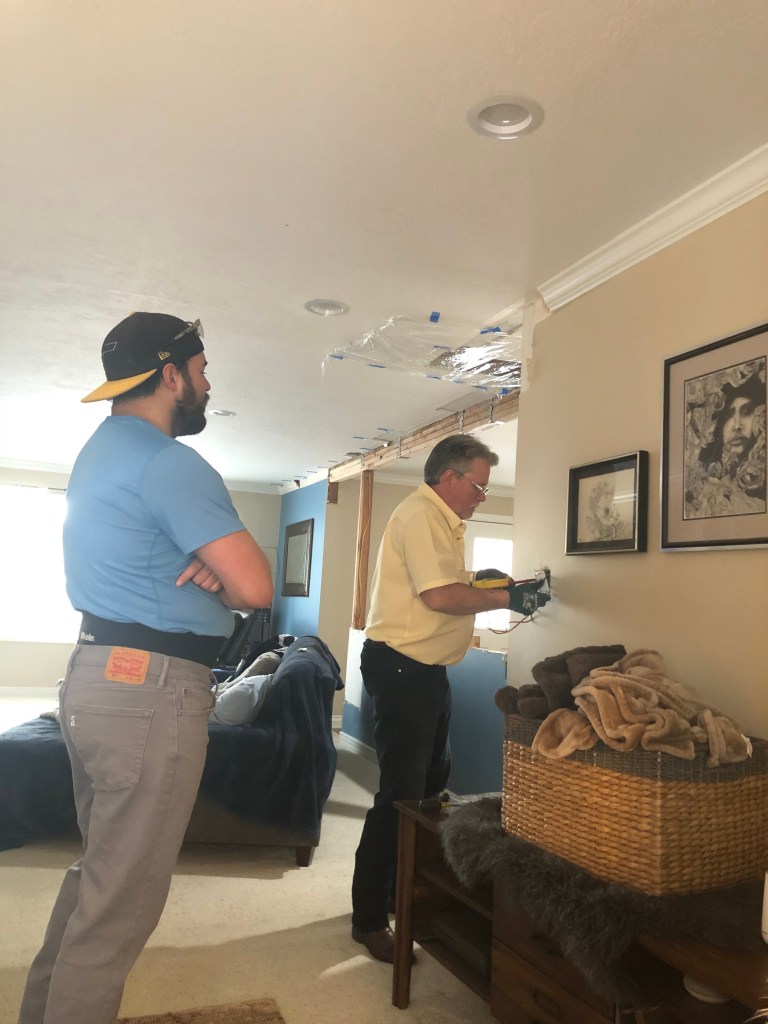
We lasted about a month living by lamp light in the Winter, and decided we needed to put in recessed lights. Sheldon’s dad was a Master Electrician for a huge chunk of his life so we were lucky to have his guidance. After the first zone, Sheldon had a solid understanding and finished the project on his own.
We added 4 zones on our first floor.
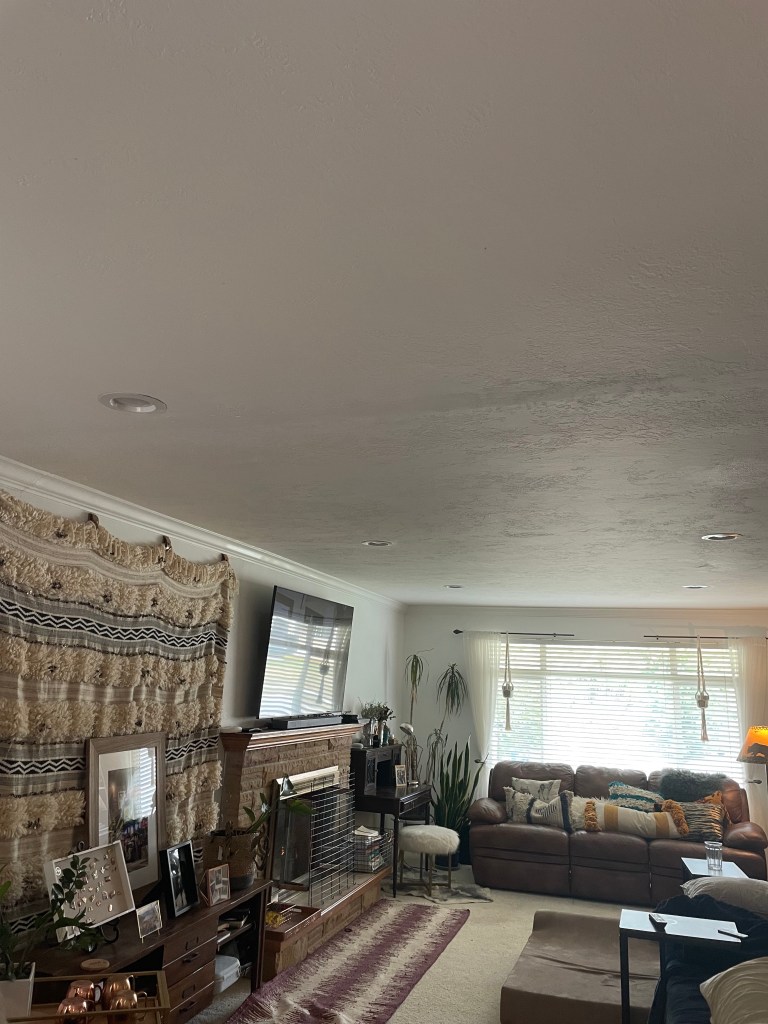
– The Living Room 1 + 6
– The Living Room 2 + 4
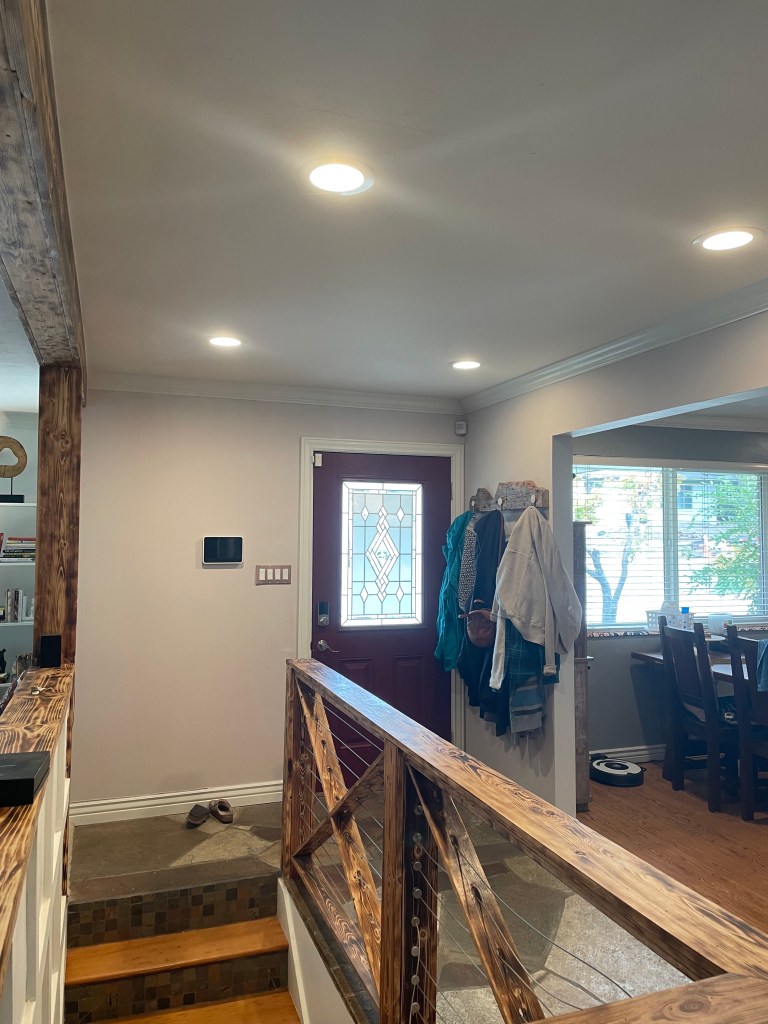
– Entry Way + 4
– Kitchen + 6
Total: 20 Recessed Lights Installed
These are the materials we used:
Light Kit from Costco $44.99 6-pack
Light Housing from Lowes $8.88 per unit
Recessed Lighting Hole Saw $12.99


Tips for installation:
– When deciding where to place the lights, you can measure in two ways. Either from wall to wall aka divide the room up evenly OR highlight certain spaces and measure from the center of that object/space. We decided to use spaces for our living room we didn’t want a light directly in from of our TV so we used the TV as our center point and evenly spaced the lights. In our kitchen we have a chandelier as our focal lighting to highlight the table, so we measured wall to wall.
– Sheldon installed the light housing cans all at once in the attack because he didn’t want to go in and out. It only took us cutting one hole to determine that we wanted to use the Hole Saw to achieve a perfect cut every time. While Sheldon drilled the holes in the ceiling, I held a 5 gallon bucket as close to the ceiling as possible to catch debris and help contain the dust.
Once the cans are installed, using the light kit from Costco was pretty straightforward. We love the dimmable ones and rarely have them at 100% brightness. A little light makes a big difference.
