
As soon as March hits, my Instagram feed turns into a seed starting frenzy. I get it, after a long winter, it feels so good to get your hands back in the dirt and start growing! For me, the overwhelming part of seed starting is when I see intimidating setups; something like a garage lined with floor-to-ceiling shelving and lights on pully systems, automatic drippers, and full-time plant nannies…. okay, probably not the last one just seeing if you were paying attention. So let’s break it down.
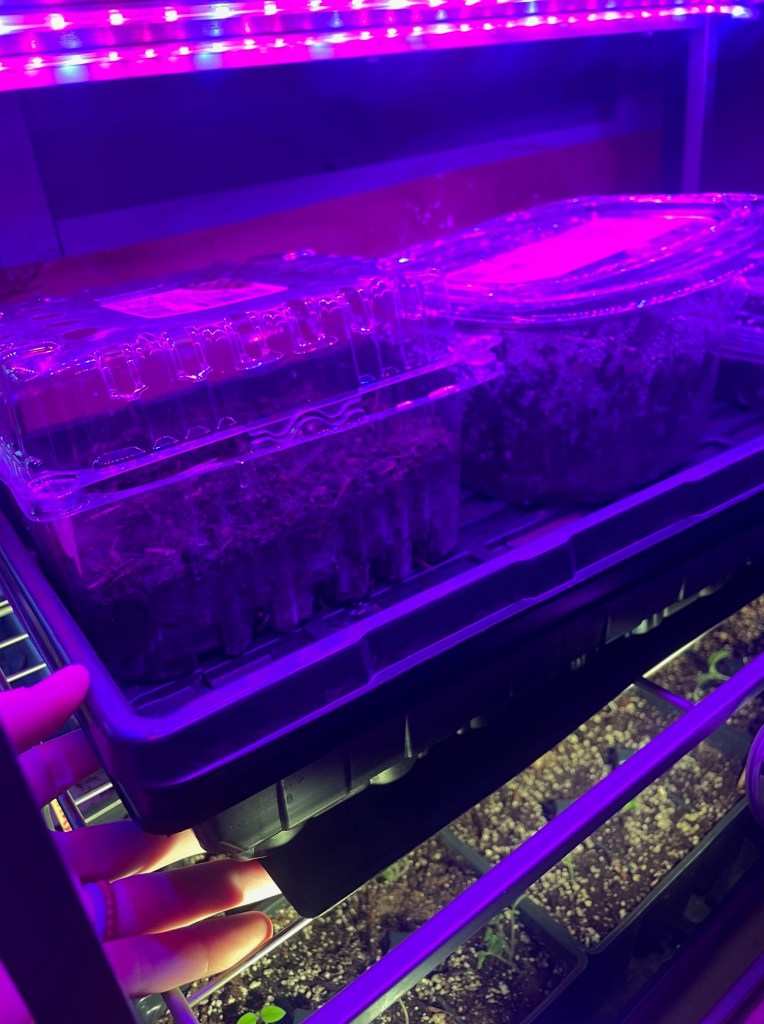
- The goal of seed starting is germination. We want to transform those seeds into little plants that will eventually go into our garden. Until you see life above the dirt, then you are in the germination phase. In this phase, our seeds are precious little babies. They need a really nice environment if they’re going to leave their comfy dirt beds. If possible, the best setup is a heating mat under your seed tray and a cover on top with lights close by (if you don’t have lights, choose your brightest window). The cover can be saran wrap, a plate, washed-out food containers, a Ziploc, etc. This creates a humid, hot environment for germination.
- Heating Mat – if you purchase one with a thermometer, ideal temps are 65-75 during germination
- Seed Starting Tray – This is NOT necessary, you can plant in any container, where drainage and a cover can be added. I save plastic containers from Costco and cut holes in the bottom.
- Lights – You do not need expensive grow lights. The most important factors are light intensity, duration, and very lastly color.
My germination set-up: I use a 2-shelf shoe rack to start my seeds. I place the heating mat below my seed tray, a cover on top, and lights directly above the cover. Once my seeds pop up, I remove the cover immediately, and when I have ~90% germination I remove the heating mat.
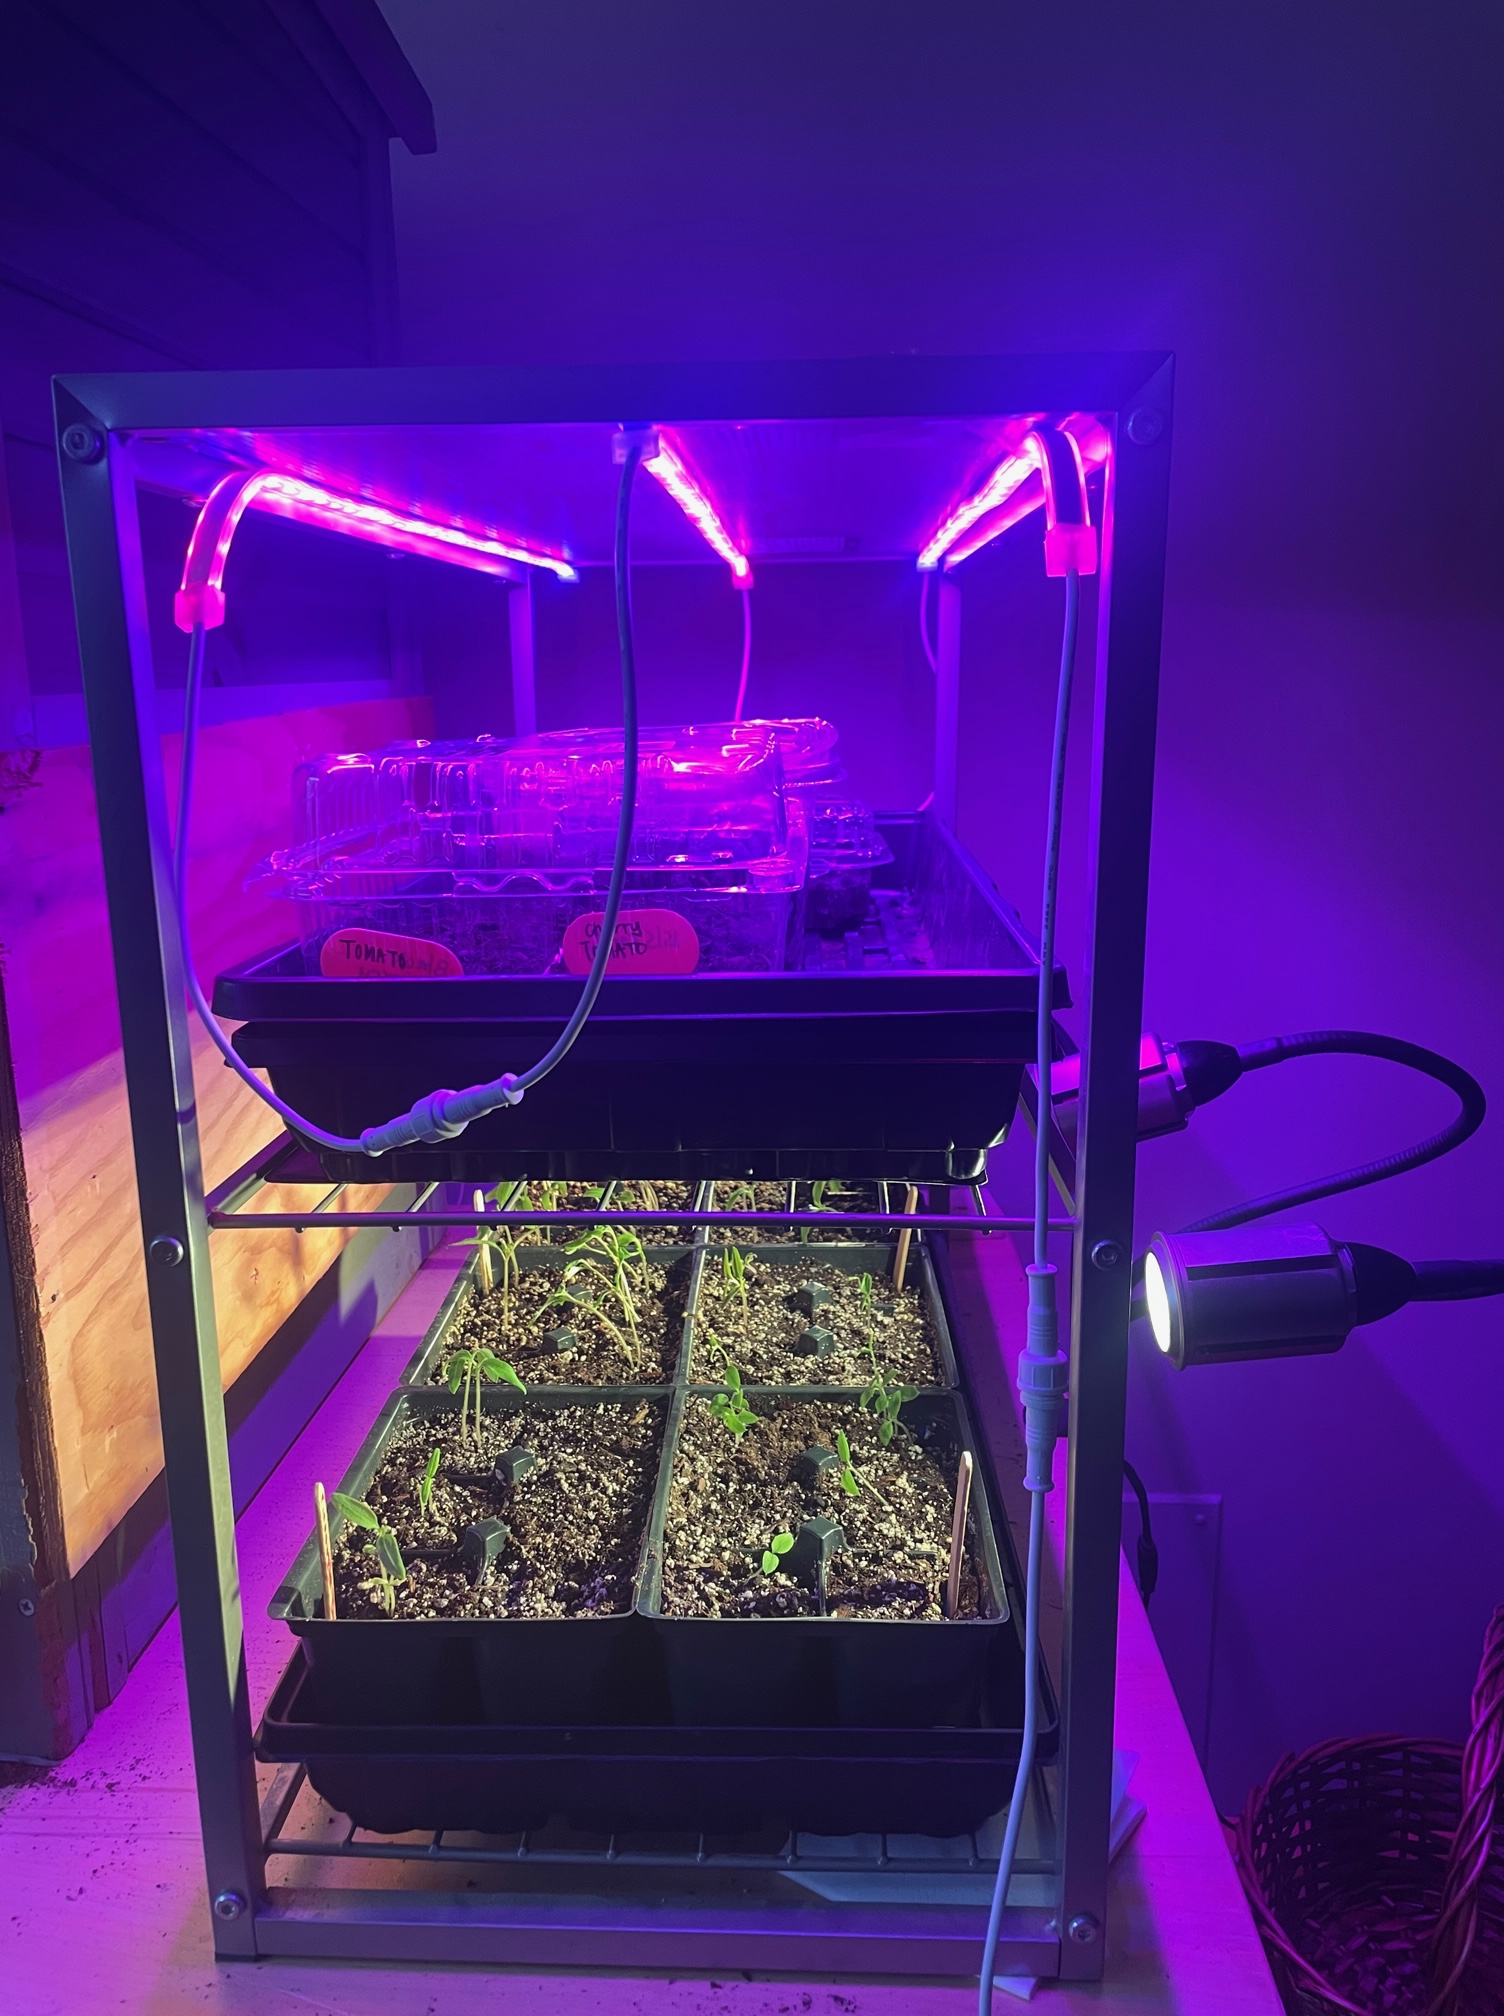
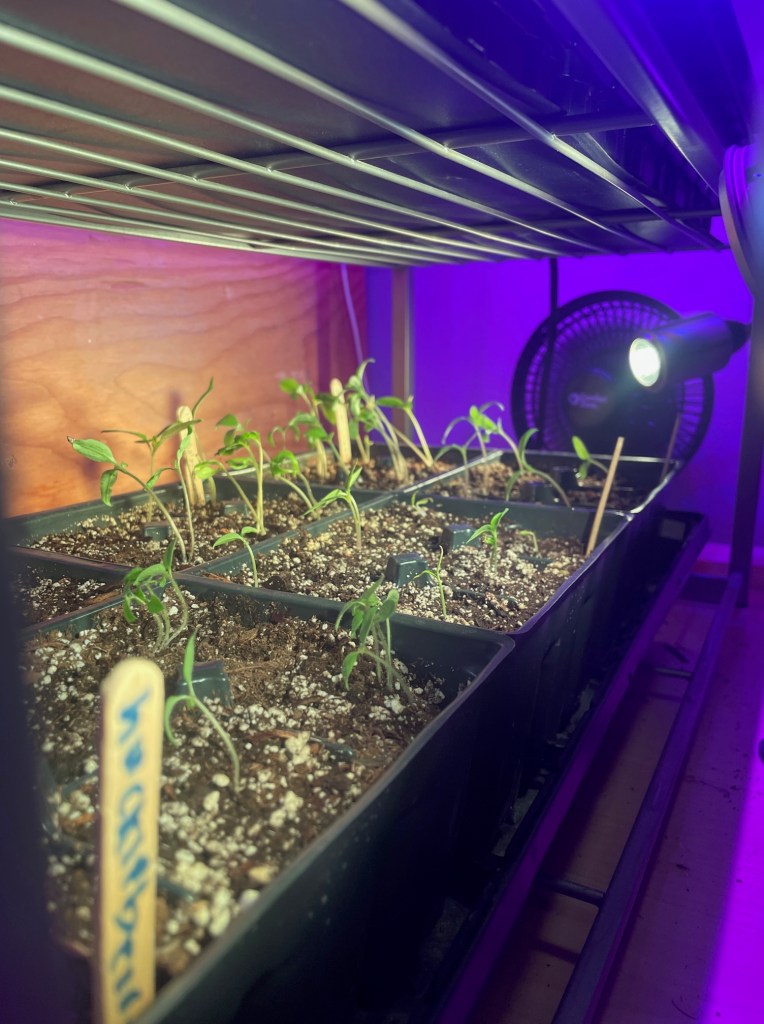
2. WOO HOO! The excitement of seeing a seed germinate into a seedling is unmatched. It’s like watching paint dry, but like WAY better. As soon as you see that little plant pop above the dirt, it’s time to turn off the white noise machine and turn on the party music and for a plant, that is a fan! Party time. When that little plant is in your garden, it won’t have a perfect environment. There will be dry weather, wind, and cold nights, so we need to start altering their environment to match what it will be like outside in the garden. What’s the new setup for seedlings?
- Turn off your heating mat.
- Move the seedlings a bit further from the light.
- Turn on a fan. I use this small desk fan that clips on. **We use a fan because it mimics the wind, when plants move in the wind they release a hormone called auxin which strengthens the plant.
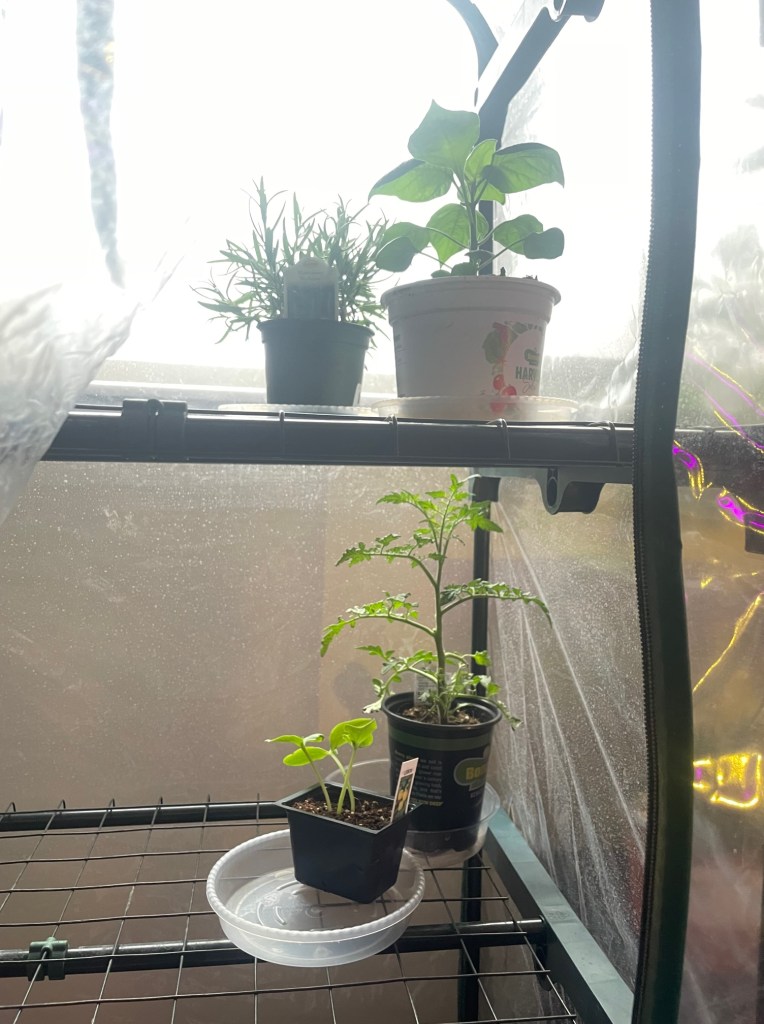
3. Lastly, it’s time to pot up and move out! Once your seedlings have a few sets of leaves and are a few inches tall it’s time to move them into a bigger pot so that their roots can keep growing. Before our plants move into the garden, we really want to focus on their roots. Our last indoor setup will be:
- Move seedlings to larger grow pots. Here are 4″ compostable pots on Amazon. I often save seed trays from plants that I buy from nurseries and reuse those instead of purchasing new ones.
- Move the light a few inches further away from your growing plants. Alternatively, I have a pop-up greenhouse in my sunny window and transfer them there at this point.
When you’re approaching your planting date (you can learn more about that here), you’ll want to harden off your seedlings. This means that you bring them outside for a few hours a day to get them used to the conditions and bring them back inside at night to rest. I’ve found it’s easiest to put all my plants in a wagon so I only have to make one trip to bring them all outside, and then back in. I usually do this for about a week, sometimes two if we get a cold snap.
Enjoy your gardening!
Miki
